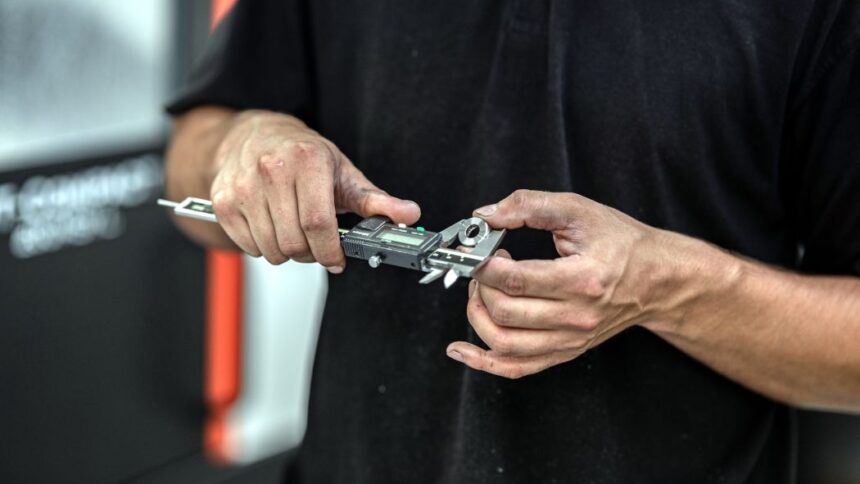
Modern CNC machining relies on precision, repeatability, and process stability. However, even the most advanced machine tool is not an ideal system. Every mechanical, electrical, and control system generates errors that—if not recognized and compensated—lead to dimensional deviations, surface quality deterioration, and production losses. Therefore, the analysis and compensation of CNC machine tool errors constitutes one of the key elements of precision engineering and Industry 4.0 today.
Why Errors in CNC Machine Tools Are Inevitable
A CNC machine tool is a complex system of the MWPT type (machine–workholding–part–tool), in which each element introduces its own imperfections. Even when maintaining the highest design and assembly standards, the following occur:
- manufacturing tolerances of guideways, ball screws, and bearings,
- structural deformations under load,
- temperature changes during operation,
- limitations in resolution and dynamics of measurement systems,
- errors in interpolation and control algorithms.
The engineer’s goal is not to completely eliminate errors (which is impossible), but to identify, model, and effectively compensate for them.
Classification of CNC Machine Tool Errors
Geometric Errors
This is the fundamental and best-described group of errors. It includes deviations resulting from imperfections in machine geometry, including:
- straightness errors of axes,
- squareness errors between axes,
- positioning errors of linear axes,
- backlash,
- lead screw pitch errors.
In the classical approach, 21 independent geometric errors are distinguished for a three-axis machine tool.
Thermal Errors
Thermal errors are currently the largest source of dimensional uncertainty in precision machining. They arise from:
- spindle heating,
- servo drive operation,
- friction in guideways,
- ambient temperature changes.
Even a temperature change of 1°C can cause displacements of several to several dozen micrometers, which in many industries (aerospace, medical, injection molds) is unacceptable.
Kinematic and Dynamic Errors
These are related to machine motion and its behavior at high speeds and accelerations. They include:
- interpolation errors (especially during contour machining),
- natural vibrations and resonances,
- deflections of structural elements under cutting loads,
- delays in servo drive response.
Control and Measurement System Errors
These include:
- resolution of encoders and linear scales,
- quantization errors,
- signal delays,
- imperfections in CNC control algorithms.
Although individually they may be small, in combination with other error sources they can significantly affect process accuracy.
Methods for Analyzing CNC Machine Tool Errors
Geometric Measurements
For analyzing geometric errors, the following are used:
- laser interferometers for measuring positioning accuracy,
- master scales and precision levels,
- Ballbar tests for evaluating circular interpolation and axis dynamics,
- 3D measurement systems (e.g., laser tracker).
These allow for creating a spatial error map of the machine tool.
Thermal Analysis
Temperature sensors placed at key points on the machine and mathematical models describing the relationship between temperature and displacements are used. Machine learning methods are increasingly applied here.
Dynamic Analysis
This includes vibration studies, frequency characteristics, and machine behavior under variable loads. Accelerometers, modal hammers, and FFT analysis are employed.
Error Compensation – Practical Approach
Software Compensation
The most commonly used method in modern machine tools. It involves:
- entering correction tables into the CNC control,
- compensating for pitch and straightness errors of axes,
- temperature correction based on mathematical models.
The advantage of this approach is no intervention in the machine structure and the ability to update data during operation.
Hardware Compensation
This includes design solutions such as:
- symmetrical structural arrangements minimizing temperature effects,
- active cooling of spindle and drives,
- use of linear scales instead of rotary encoders,
- active vibration damping systems.
It is effective but costly and typically used in premium-class machines.
Adaptive and Intelligent Compensation
The most advanced approach, characteristic of Industry 4.0. It utilizes:
- real-time sensor data,
- predictive models,
- artificial intelligence algorithms.
The system learns the machine’s behavior and dynamically corrects motion and positioning parameters.
Significance of Error Compensation in Modern Manufacturing
Effective analysis and compensation of CNC errors allows:
- increasing production accuracy and repeatability,
- reducing scrap and rework,
- extending tool life,
- stabilizing processes in both series and single-piece production,
- meeting increasingly stringent quality standards.
In practice, it is advanced compensation strategies that determine the real technological capabilities of a machine tool today, not just its nominal catalog parameters.
Summary
The analysis and compensation of CNC machine tool errors is an area where precision mechanics, metrology, automation, and industrial informatics meet. In an era of growing quality requirements and component miniaturization, conscious error management becomes not an addition, but the foundation of modern machining. A machine tool that “knows its errors” and can compensate for them is today one of the most valuable tools in a modern manufacturing facility.
Related Post
Categories
Archives
- November 2025
- September 2025
- June 2025
- March 2025
- January 2025
- December 2024
- November 2024
- October 2024
- May 2024
- April 2024
- March 2024
- February 2024
- January 2024
- October 2023
- September 2023
- May 2023
- April 2023
- March 2023
- February 2023
- December 2022
- November 2022
- October 2022
- September 2022
- August 2022
- July 2022
- May 2022
- February 2022
- November 2021
- September 2021
- September 2020
- September 2019
- December 2017
- November 2016
- October 2016
- September 2016
- June 2016
- March 2015
- March 2014
- November 2013


